


Learn how to remove stubborn rust stains in a couple of simple steps using hot water and baking soda to make them look as good as new again!

A while back my mom gave me a few of my grandma's old pie plates. I don't have very many, so it was nice to have a few extra.
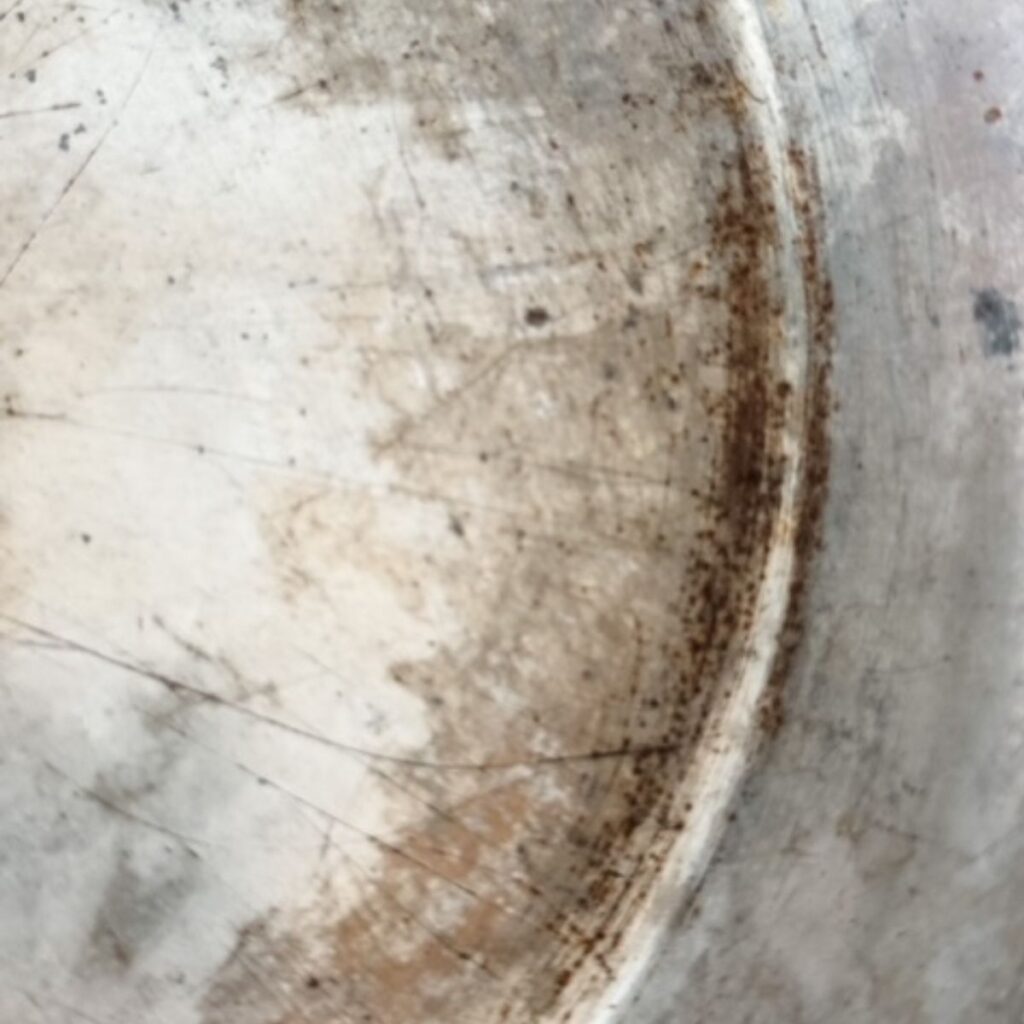
However, after the first time or two of using them, I noticed they were rusting.
The rust wasn't terrible. They just had a couple of spots here and there that I needed to get rid of.
This is the best method I have found that is budget-friendly, doesn't require harsh chemicals, and makes rusty pots brand new again without having to replace them.
- Use our DIY rust spray that is made with lemon juice to remove rust from kitchen utensils, scissors, knives, and other metal utensils.
If you have a baking pan with baked-on grease and it's rusty, use our tutorial for removing the grease first.
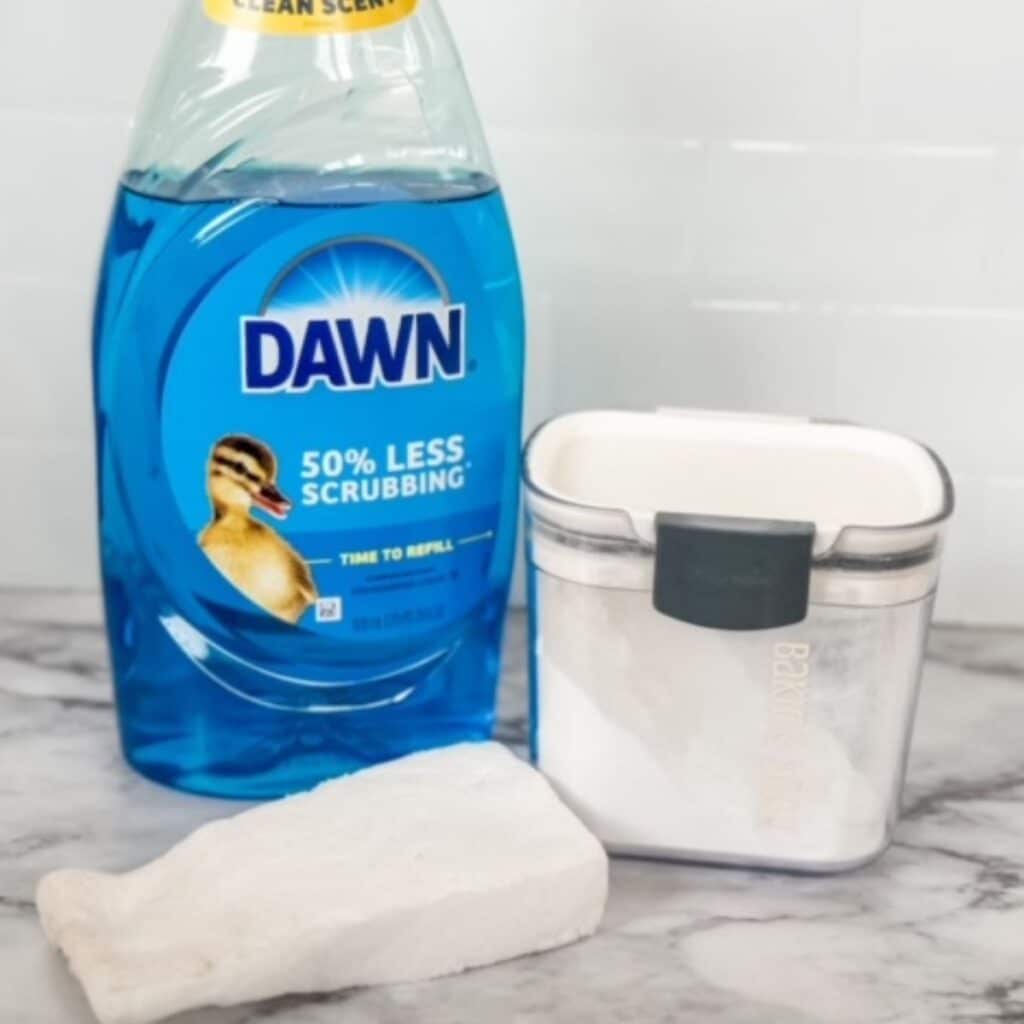
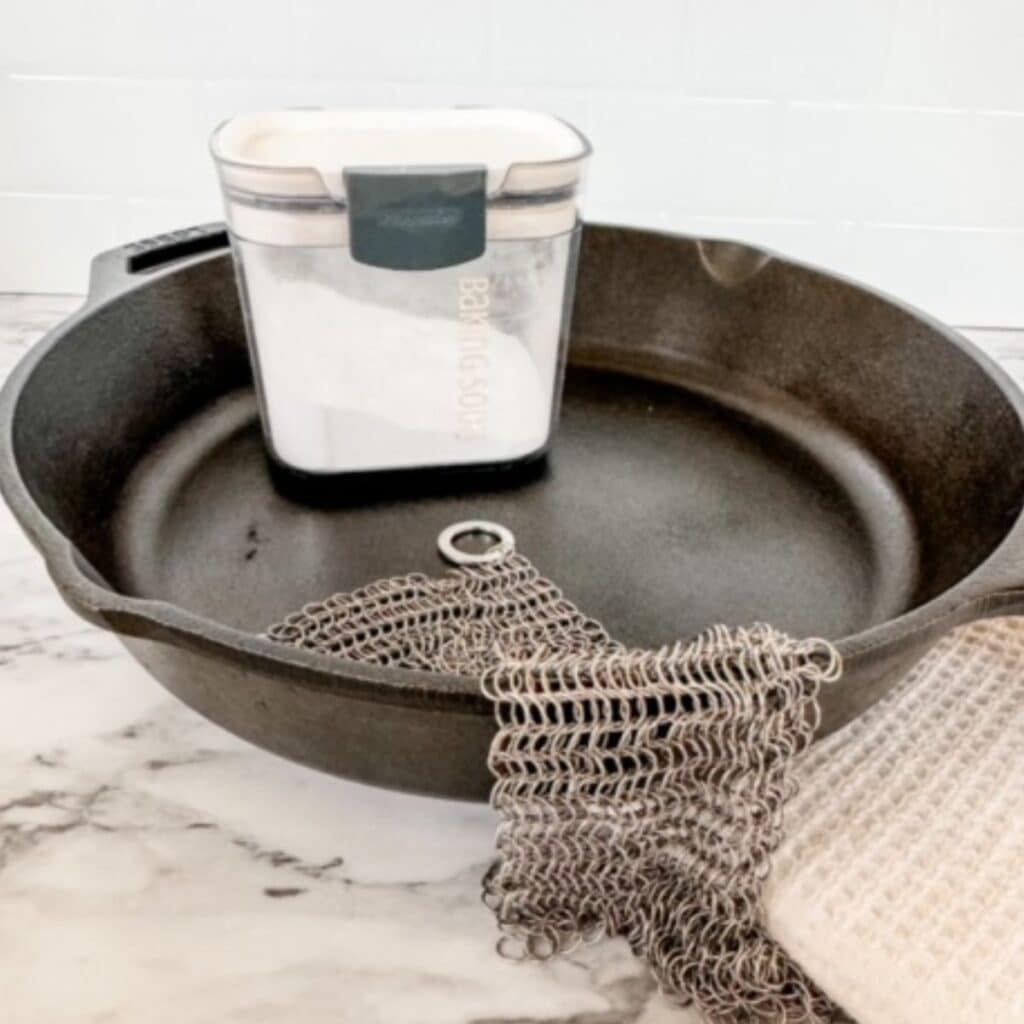
What You'll Need
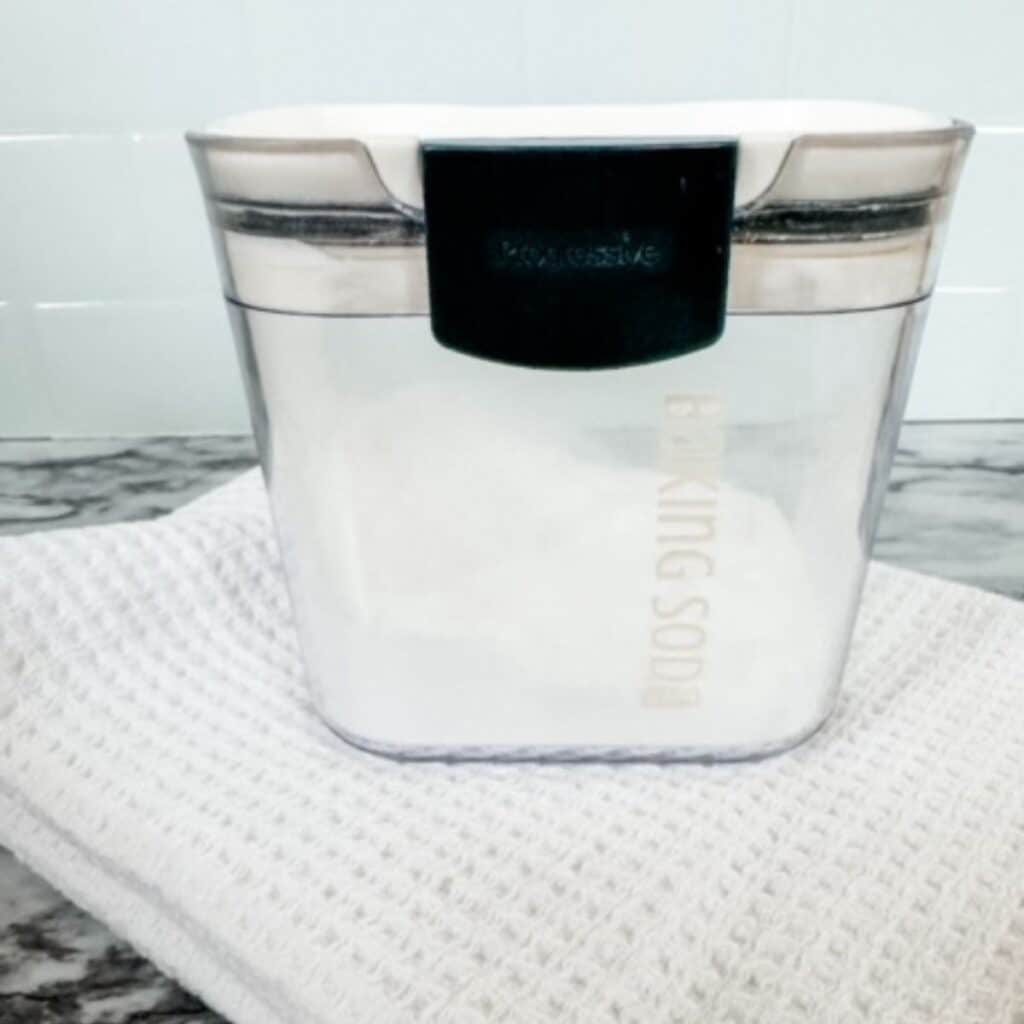
- Baking soda
- Magic Eraser or Sponge - these magic erasers are my favorite to use because they are not as abrasive as steel wool or a scouring pad, but still get the job done.
How To Remove Rust From Pans
To begin, I want to say that the tips below work great to remove rust from most pots and pans.
I, however, really don't recommend using this on any non-stick pots or pans.
If you have any rust that is building on a non-stick pan, I would check with the manufacturer to see what they recommend. For any other pan or pot, follow the directions below.
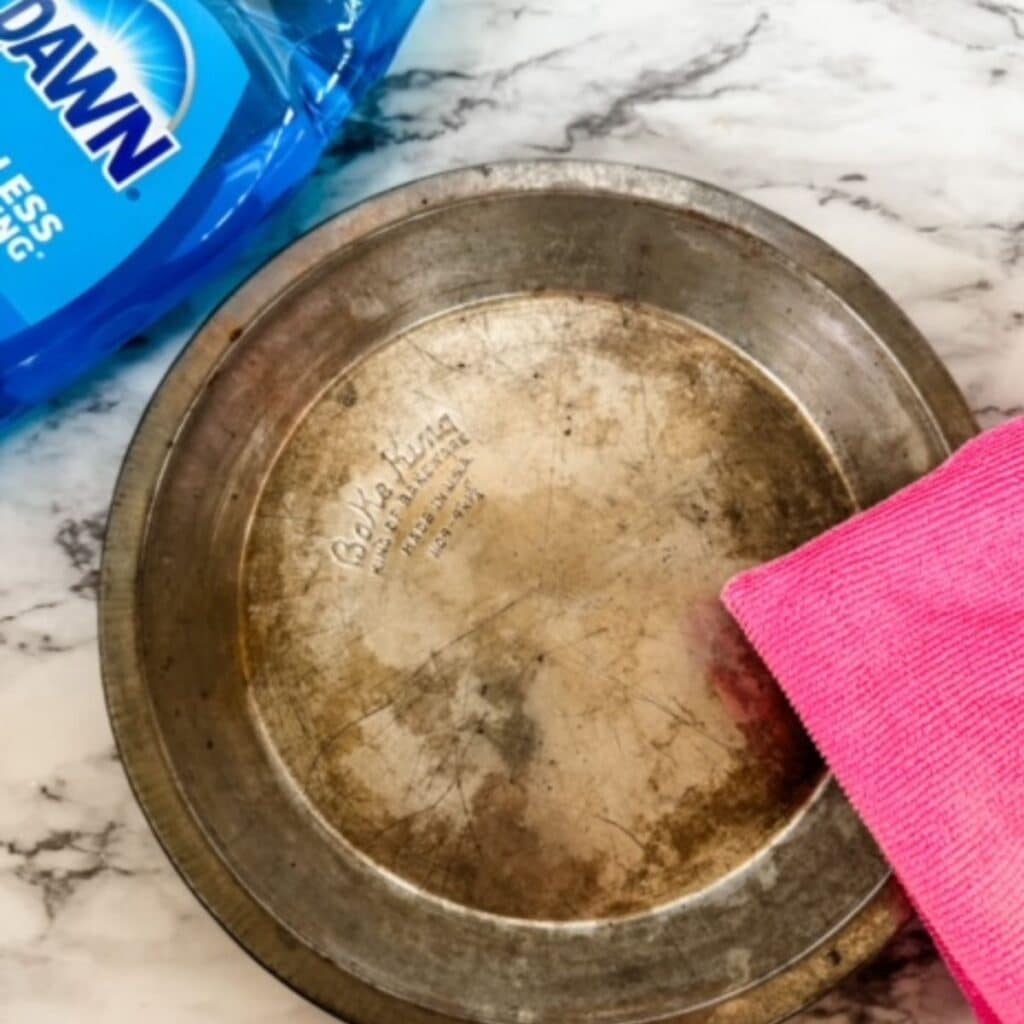
Wash and leave it damp.
Use a little dish soap and warm water and wash the rusty cookware. Shake it off gently to remove the excess water, but do not dry it. The dampness will help the baking soda stick to the pan.
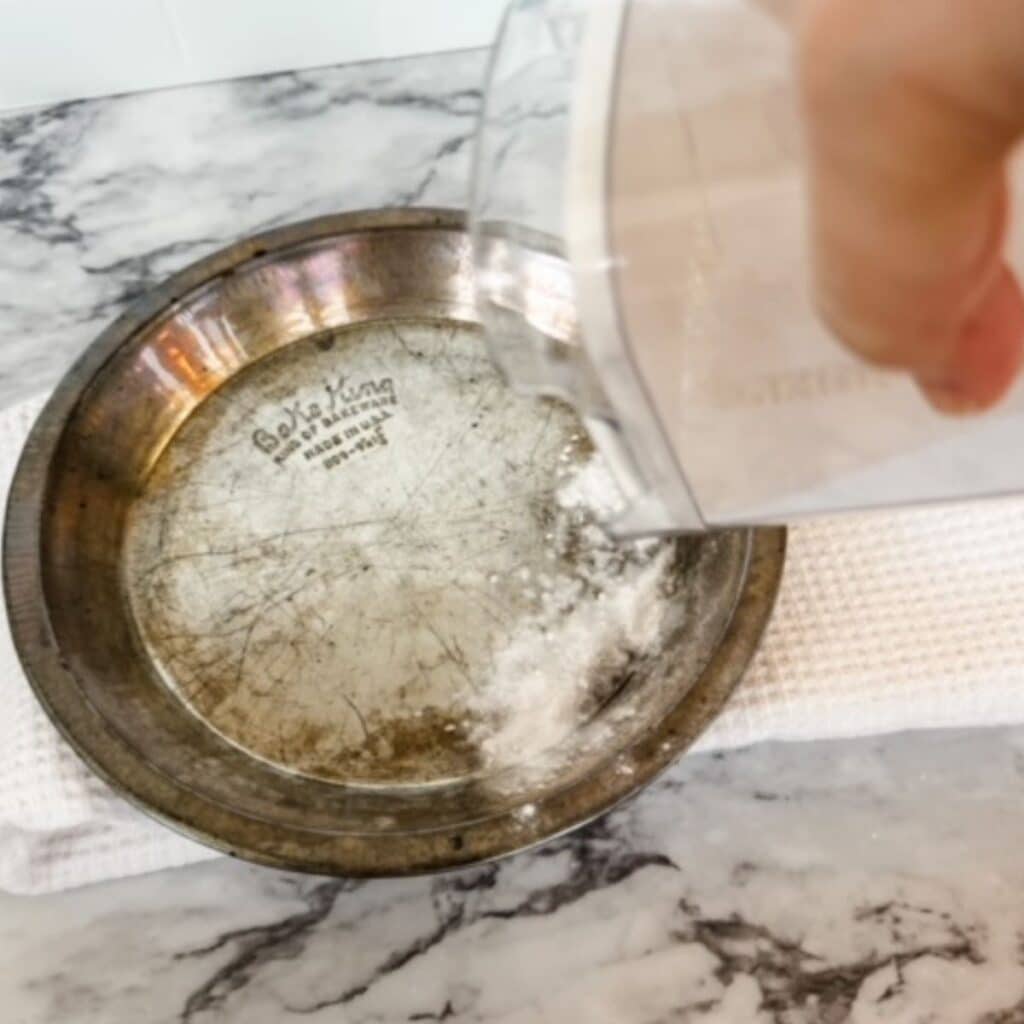
Coat in baking soda.
Sprinkle a thin layer (about a tablespoon) of baking soda over the rusted areas so it's well coated.
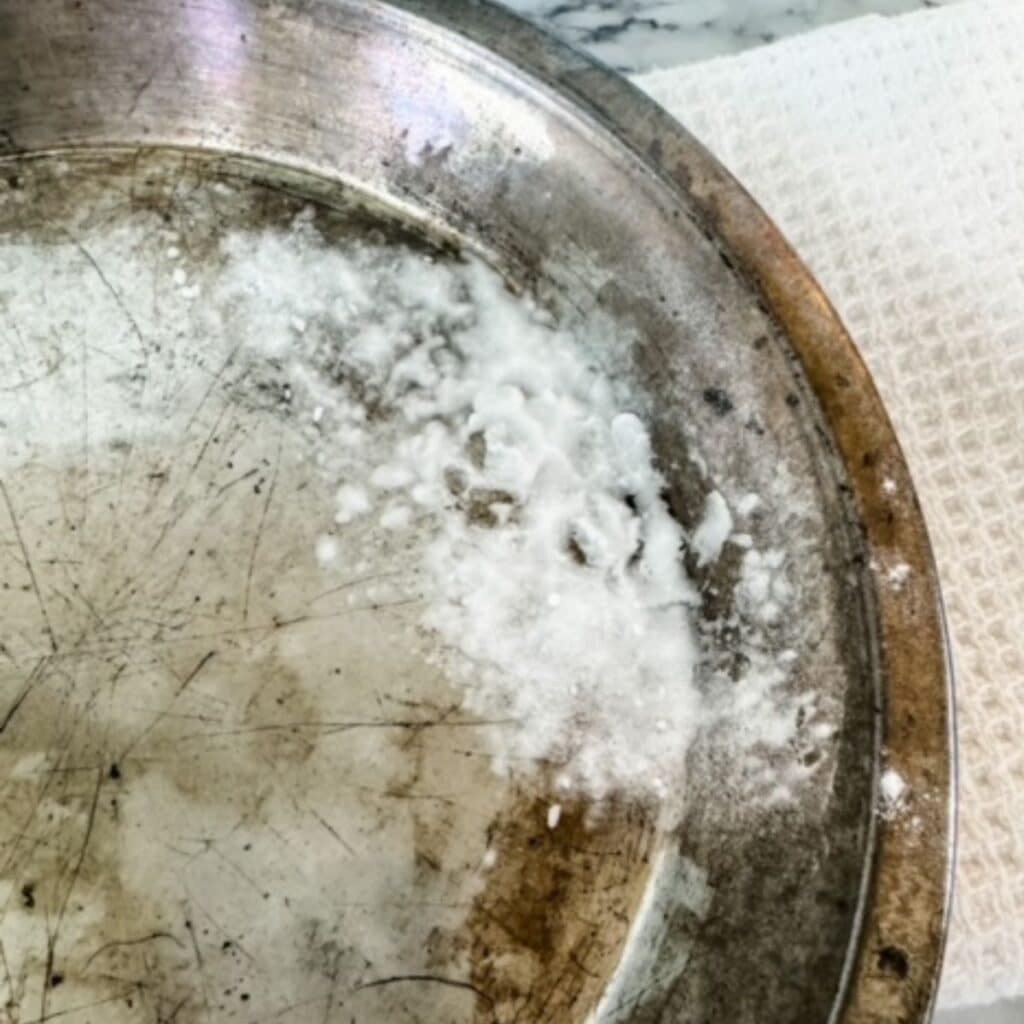
Let it sit.
Allow the pots and pans to sit for 30 minutes.
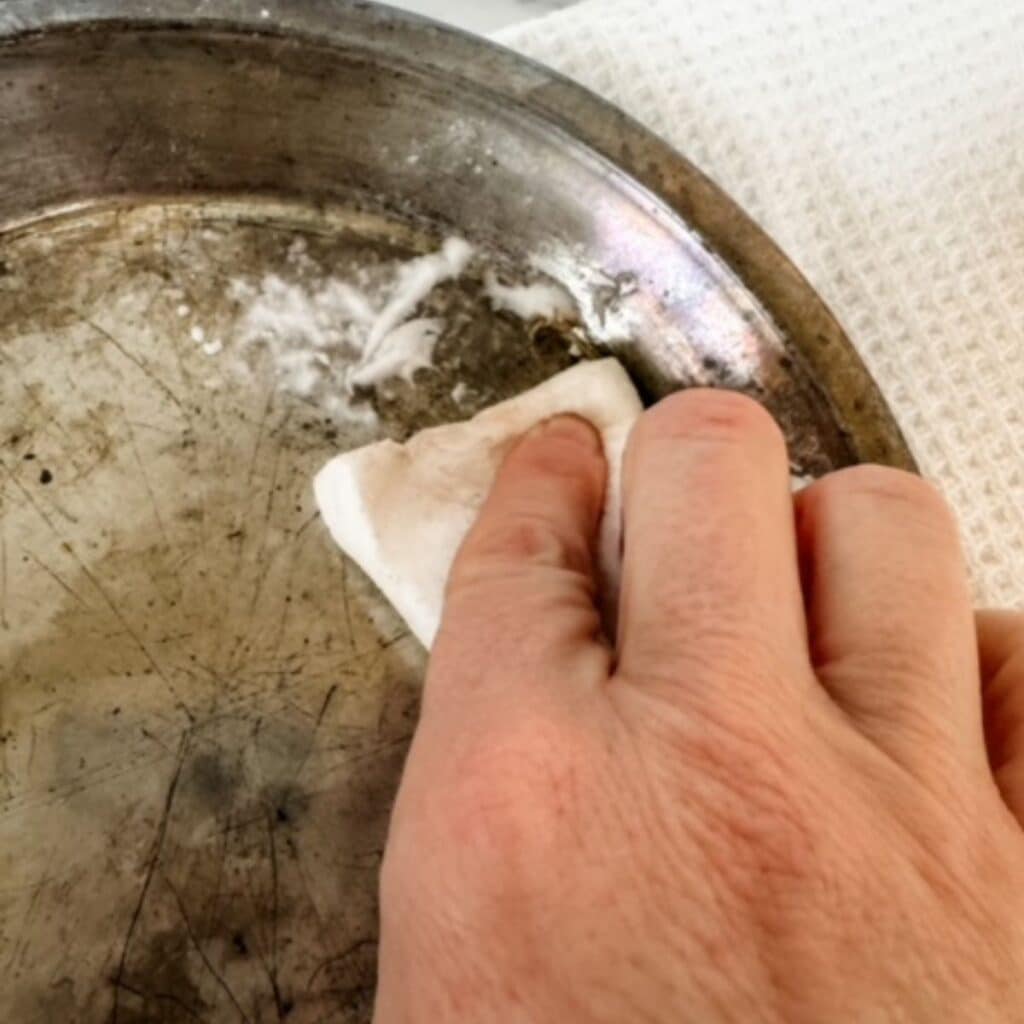
Gently Scrub.
Afterward, use the magic eraser sponge to scrub gently to lift the surface rust.
Rinse and dry.
Rinse off the pans and dry. If you still see some rust, repeat once more.
Repeat If Necessary.
You may need to rinse off the baking soda and reapply more baking soda once or twice if the rust is really bad.
For the small area on the pan in the pictures, I only needed to do it once, however, I have had a cast iron pan and I had to go through the steps multiple times.
How Does Baking Soda Remove Rust From Pans?
Baking soda is considered mildly abrasive, so with a little elbow grease and its alkaline pH, it easily dissolves the pan rust.
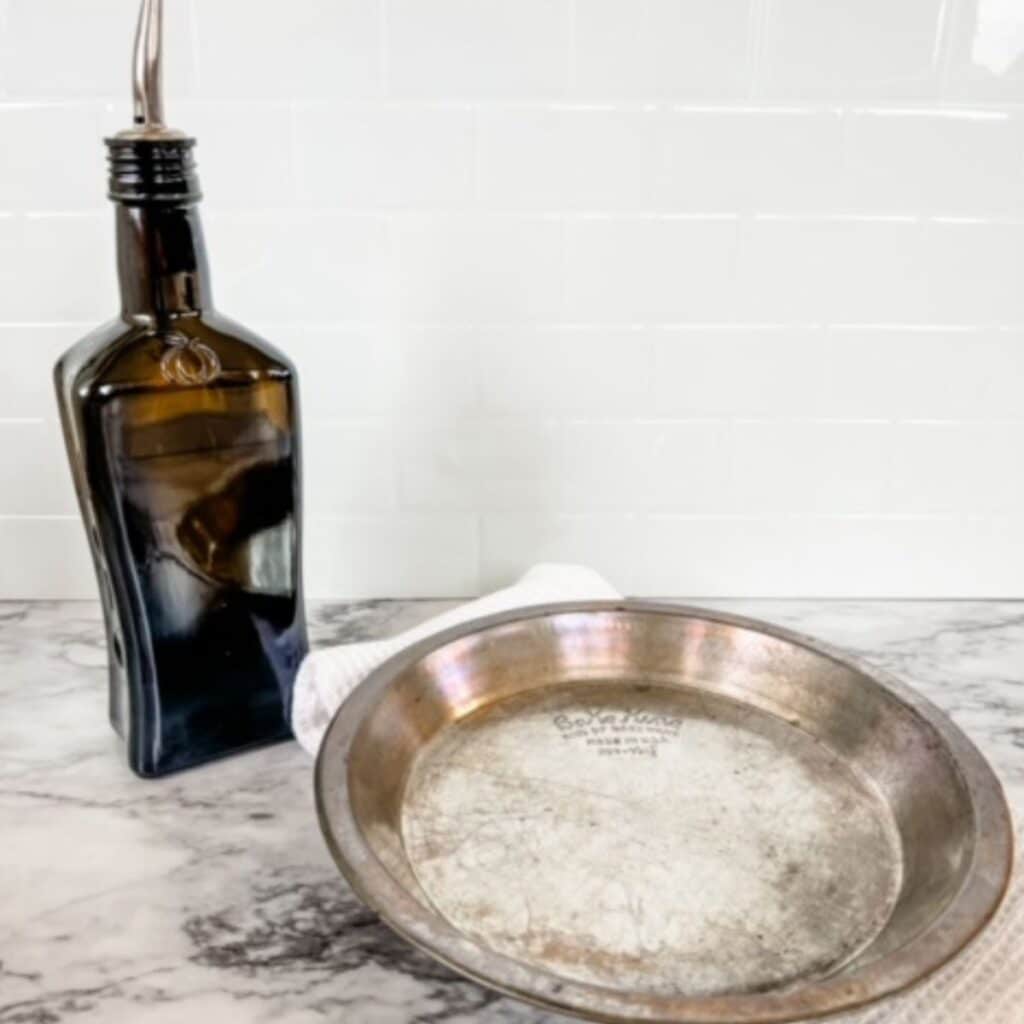
Preventing Rust From Coming Back
Once your pans are dried you can now make sure it doesn't rust again by adding a small amount of cooking oil with a paper towel or kitchen towel to the pot or pan.
I recommend oiling them about every 6 months to keep the rust from coming back. If it is a pan that I use daily I sometimes oil it about every 3 months.
What Materials Is This Safe For?
You can use baking soda to remove rust from most metal surfaces, including the outside of the pan and the bottom of the pan. It's safe to use on cast iron cookware, stainless steel cookware, and even your carbon steel pan.
We do not recommend using on non-stick cookware as it can damage the protective coating since it's a more delicate material.
Can You Clean Rust From a Cast-Iron Skillet Using Baking Soda?
Yes! Cast-iron cookware can rust very easily, especially if they are stored before it is dry or if they are not seasoned well.
Sometimes if it's too far gone you will need to use a scrub brush, steel wool, or a wire brush and a lot of elbow grease. I recommend using baking soda and a chain mail scrubber to clean cast iron.
Many times people will snag a rusty cast iron skillet from flea markets or a yard sale hoping to restore them. However, if the rust is very flaky and is deeper than the surface, I would recommend passing on those.
If the cooking surface is still in good condition it may be worth saving, but you would still need clean the outside of the entire pan.
Free Weekly Cleaning Printable
Clean your home in under 30 minutes a day with this free Weekly Cleaning printable!
Helpful Tips
- If you are using this rust removal method on a cast-iron pan, be sure to season it well afterward. This means warming it up on the stove over low heat. Add a little vegetable oil. Once it smokes, drain the excess oil and wipe the inside and outside with a clean paper towel. Be careful not to use too much oil, as it will leave a sticky residue and you will have to start over.
- See how we clean our cast iron pans.
Briana says
Thank you so much. Going to try this on my knives. Awesome article. Merry Christmas!
Cathy @ tips4livingbetter.com says
Thanks for sharing this.
Julie says
You're welcome!
Cara @ Fashionably Frugal says
I tried this with my cookie sheets and loved that they looked almost like new... or at least, better than they have looked in years. Now I am not tempted to go buy shiny new ones since mine look almost like new! Thank you for sharing this!
John & Leota Hall says
I would like to know how to clean the bottom of my pots, pans and skillets. The build-up that is dark or black.
Lindsey Mozgai says
Does this work for cookie sheets too? What about knives? Mine are in terrible shape, but I've heard you just have to redo it everytime for them.
Julie says
Hi Lindsey! It should work for cookie sheets and knives too. I have had the rust come back on knives before, however, I found out that hand washing them really helped to keep the rust away permanently.