


I love finding ways to decorate for Christmas without spending lots of money. When I saw a Christmas ice mold for holding a bottle of wine I knew I had to make it. It not only is so beautiful, it only cost me $.99 to make. It was easy to make, although it does take a bit of time to freeze. I would recommend making it at least a day in advance. It will look beautiful in your kitchen or on a table at a holiday party.
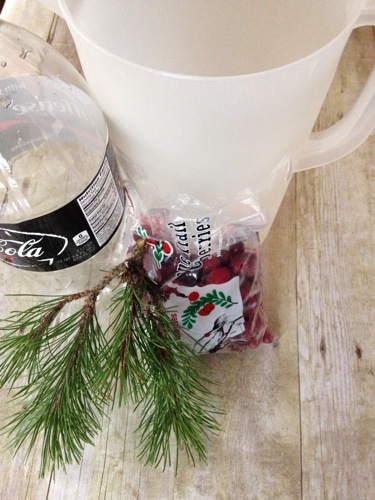
You will need a large pitcher, an old 2-liter bottle, some cranberries, and some pine needles. I already had everything except for the cranberries which I found on sale for $.99.
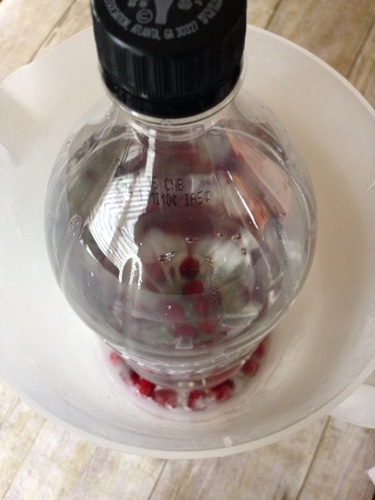
Place some of the cranberries and the pine needles in the bottom of the pitcher. Then fill the pitcher with about 1 inch of water. Place in the freezer and allow to freeze. This will make a nice sturdy base for the wine holder.

While it is in the freezer, take the empty 2-liter and fill it about 2/3 of the way up with salt water. Adding about 2 tablespoons of salt to the 2-liter will keep the water in the 2-liter from freezing. If you have sand or some other product to weight down the 2-liter you can use that too. When your base is fairly solid you can set the 2-liter on the base.
Now you will need to add some more cranberries and pine needles to the pitcher. I used about 1/4 of the bag of cranberries at this point.
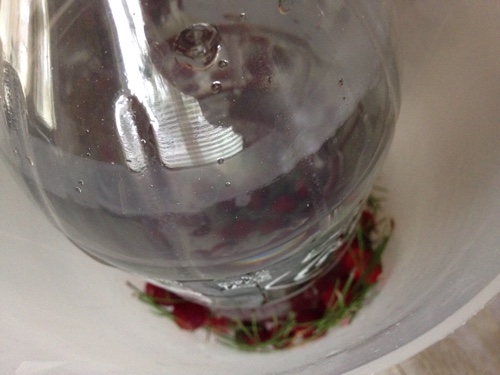
Then I added about 2 to 3 inches of water to the pitcher and placed it in the freezer. After a couple of hours the next level had frozen.
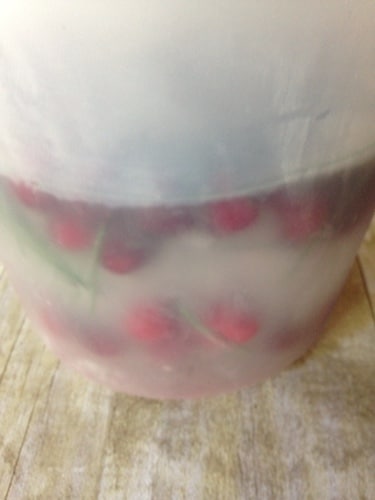
Once again add some more cranberries and pine needles to the pitcher and fill up with a couple of inches of water. Place in the freezer until completely frozen. Once it is frozen remove from the freezer and allow to sit for a few minutes until it is easily removed from the pitcher. It usually takes about 5-10 minutes before I can remove mine.
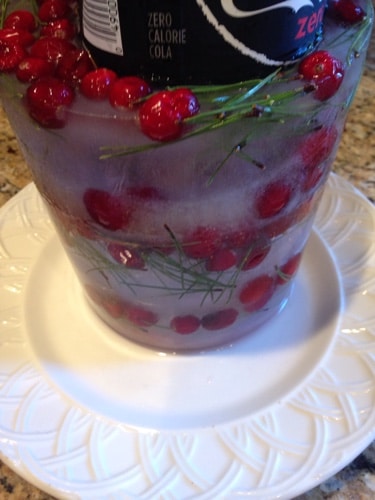
Then carefully remove the 2-liter from the ice mold. I like to dump out the salt water first so I can bend the 2-liter carefully out.
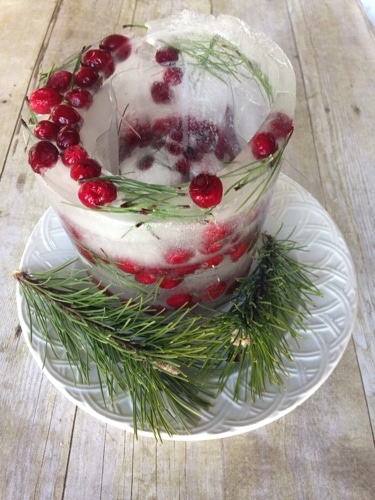
Once you have removed the 2-liter you can put it on a plate. I like to add some pine needles on the plate around the ice mold. Place a wine bottle inside to keep chilled. I have found that mine usually lasts for about 2-3 hours before it starts getting too melted. Last year I left it out for an hour or so and then put it up. I was able to use it on both Christmas Eve and Christmas Day that way.

Get your home holiday ready!
Get your home clean and organized for Christmas with this simple holiday cleaning checklist.
For just $1 you can easily create a beautiful Christmas Ice Mold to hold your wine or other bottled drinks. It's an easy inexpensive way to bring the holidays into your home.

Mom says
very festive!!
Heather says
This is so pretty. I'm not sure I'm patient enough to make this, but it's worth a try.
Julie says
It doesn't take too much patients. just some time in between freezing. Let me know how it turns out.
Sacha Whitehead says
It's sooo pretty. I think I may have to try it this year.
Julie says
Let me know how it turns out.
Jamie says
I've had this on my to-try list for some time. Now that we're finally getting snow, I can maybe give it a try!! Thank you for sharing with us at the #HomeMattersParty
Lori @ TheHealthMinded.com says
Great instructions! Beautiful job. Just love it. So pretty and fresh and natural -- all my favorite decor.
Audrey says
How fun. Congrats on your #HomeMattersParty feature.